Sunday, February 17, 2013

The Olivia Dress Part 2

To continue where I left off, I traced the front, front side, back and back side pieces.  I did half of a muslin to see the fit of the bodice and what alterations needed to be made.  From the first muslin I estimated that I had to cut down the length of the front piece bodice and add 2 inches to the width. 


After that was done I then added 5 inches to the length of all the pieces as this bodice originally had a peplum.  I then made another muslin of the bodice to check for fit and it looked about right.


The original fabric from the picture has the red lace with the nude underlay.  Since I could not find that, I just used a  black scalloped lace with black charmeuse underneath.  I originally wanted to do a sweetheart cut-out on the bodice, but I decided to go with the full coverage under the lace.  I also liked the coverage that it gaves as well.  This is how the bodice finally turned out.


Originally I had the bodice sewn up a little more, but was told by Karen and another co-worker that I needed to undo it a little to get the look of the original inspiration picture.  I'm realizing now that Olivia Thirlby does not have as much cleavage as I do, but I made it work in the end and double-sided body tape was my bestfriend last night. 


It helped keep the girls in and I didn't have any Janet Jackson moments.  Every woman should have some in their private arsenal for those special occasions.   

Next up was the skirt. Originally I was going to do a tea length with a godet in the back.  This next picture was my inspiration.

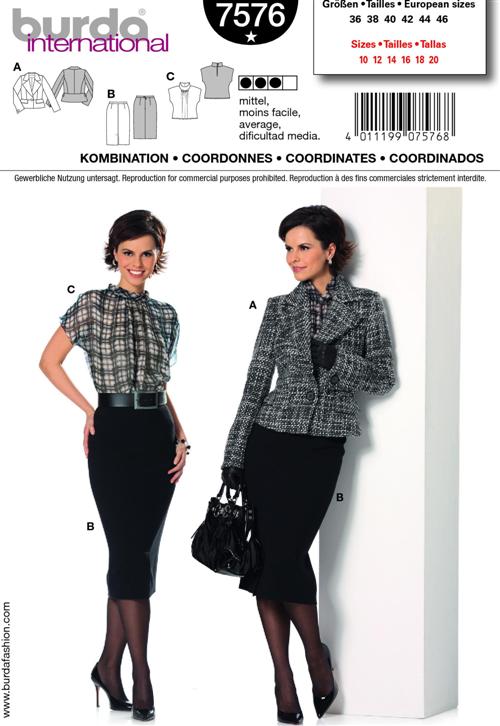
I got a call during the week thank goodness before I cut the skirt out and was told the event was black tie optional so I was able to turn my tea length idea into a full length skirt.  As I said in my last post I was going to use McCall 3830, but in the end could not figure out where I put the pattern so I used Burda 7576. 


 With a little tweaking, because the skirt is very form fitted and a little help from this book by Colette Wolff, 


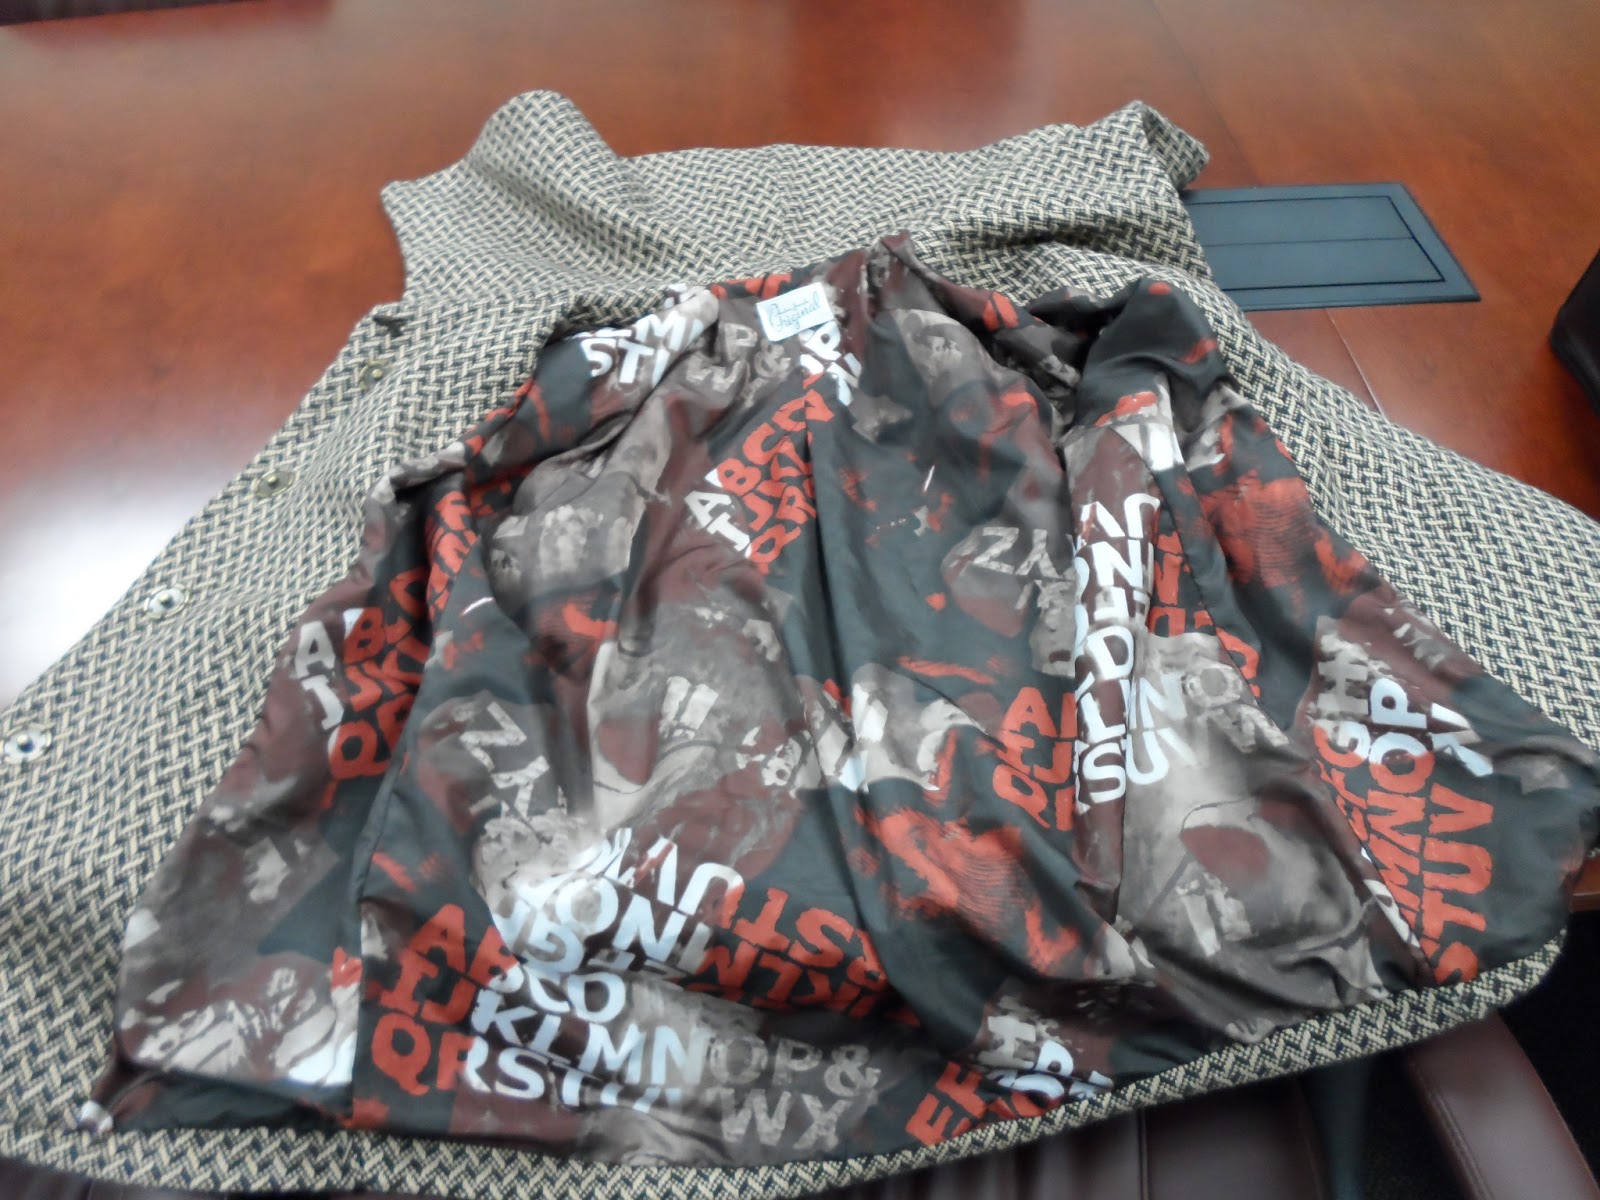
I was able to work it out.  If you don't have this book in your sewing library, get it.  It is amazing and full of a wealth of information.  Here's the back of the skirt with my godet. 


This is the final dress in all of her glory and I did get quite a few compliments. 


It was nice to stray from the norm when it comes to traditional gowns.
Enjoy your Sunday, I'm going to get some food shopping done and catch up on my chores from yesterday.  Have a great week!!

Sunday, February 10, 2013

The Olivia Dress, Part 1


I have to sing for a dinner/dance next weekend and was toldby my band mate that the function is formal and I have to wear all black.  For this, a new dress was in order as mydresses tend to be on the more colorful side. I first went to Fabric Warehouse a couple of weeks ago.  They were having a 50% off sale on fabric andI stocked up on a few nicer pieces of black fabric with this dress in mind asinspiration that I saw on Sown Brooklyn’s blog.  


I then changed my mind last week and decided to go the easyway out and just sew a dress straight from a pattern and decided on Gertie’spattern that came out through Butterick, B5814. I even cut the pattern pieces apart.   


Last weekend I was doing some online surfing and cameacross this picture of Olivia Thirlby wearing this dress in the August 2012issue of Vanity Fair and fell in love.  I don't have a picture of the whole dress, but I figure if I can at least get the top of this dress as close as possible and pull it off, it will be a winner.

Plus it gives me a chance to see how my skills are at trying to do a re-creation/replica.  I did not have any black lace in stash with ascalloped edge so I went to Joann Fabrics on a whim hoping that they would havewhat I was looking for.  To my delightthey had lace on sale in every color I needed with a scalloped edge except forblack.  I pulled the white lace off ofthe shelf proceeded to the cutting counter and had the woman cut 4 yards of thepolyester lace.  I then proceeded to thedying section and picked up iDye for polyester fabric. 


An hour later and a little bit of stirring, this is what I got.


 I went to my stash of Burdas and looked through them to seeif there was anything I could use to help me re-create this dress.  I decided to work with the bodice of BWOF 7-2011 #140. 


 I plan onincorporating my TNT McCall skirtpattern 3830 with the top portion of this dress. 

 I should hopefully be able tomatch the darts up from the skirt with the princess seams of the bodice.  That's all I have for now, but I can tell you I got quite a bit done this weekend.  Two muslins and some pattern altering, I have the bodice pretty much done and it looks fantastic  I have to cut the skirt pieces out and attach everything.  I'm trying to make sure I document with pictures my progress as I'm going along.  I'll check in during the week with another post so you can see the progress.  Mr. D saw me checking the fit of my bodice and likes it a lot.  I hope you do too.

Thursday, February 07, 2013

I'm So Warm!!!!


 In my new coat.  I started this coat (Burda 9/2009 #122) back in January of last year and for the life of me I don’t know why I didn’t finish it. 


 I guess it was procrastination or fear of it not coming out right.  Either way, it has been a labor of love from start to finish.  I first saw this jacket made up on Tany’s wardrobe blog back in November of 2011 and knew I had to have it.  I had never done a coat before so I was a little apprehensive. 

The original coat is unlined and it comes with a nice HUGE collar.  I think this is what attracted me to the coat in the first place.  


 My first challenge was to draft the lining which was pretty much straight forward.  The lining fabric is from Jomar that I had in stash.  Is it not amazing?  I LOVVVVVE it.  The actual coat fabric I purchased from Joann Fabrics.  I originally saw it and fell in love but did not feel like paying the original price.  I went back a couple of weeks later and it was like 50% or 60% off.  I knew it was a sign that I had to buy it.


 I only had to cut each coat piece in the lining fabric.  The only change I made was on the back piece (sorry I don't have a construction picture of this.  I don't know why).  I added about 2 ½ inched to the center back which was cut on the fold.  I then placed a pleat in the center back at the top to put the neckline back to where it belonged but the 2 ½ inches added some extra ease in the body of the back for extra movement in the coat.

I underlined  the coat with a gray cotton flannel that I picked up at Jomar.  If you ever see it in the store, grab it.  This stuff is awesome. 


I worked on the lining when a group of the PR ladies got together for a sewing day last year.  After that I didn’t touch it again.  This coat has been a learning process and I’m loving it. 


The original coat has ¾ sleeves as you can see from the picture above and in tracing the pattern out I added about 4 inches to make the sleeve longer.  I wasn’t really thinking about it then, but now I guess I could have added a couple more inches as I want my arms covered.  To rectify this I added bands to the ends of both sleeves, and I LOVE the look.   


 You never know how the slightest change can totally alter the look of the coat. 


I originally wanted a short car coat, but now wish it was longer with all of these cold days we’ve been having.  I figure I’ll rectify that with just making another coat, but this time I’ll make sure it’s much longer and warm enough for these cold days.


Anyway, here is my coat in all of its glory. 


Here is a break down of what I got accomplished last week to get this puppy done before the end of January.

Monday when I felt up to it I added the lining sleeves, finished the sleeves off with a band and then sewed front edges of the coat up. 

Tuesday night got the clapper out and gave the coat edges a really good press and steam. 


Made four large covered buttons (OMG the teeth of those buttons are brutal, especially when you’re working with a heavier weight fabric.  Dang button drew blood.)  


Wednesday night I bagged the lining and did the final stitching through the opening I left in the sleeve lining, which you can see above.  This give the coat more of a ready ot wear finish.  I then finished sewing the sleeve lining up. 

Thursday night I sewed the buttons on and added the snaps.   


As I said before, I don't know why this took me so long to finish, but I'm so glad I finally did it.

All in all this was a great project and I learned to work with shoulder pads and sleeve heads, and I did my first interlining or is it underlining installation.  

Before I sign off I want to thank everyone who has stayed with me and left comments on my last posts.  I appreciate every single one.  You guys are awesome.

LinkWithin

Blog Widget by LinkWithin